
Applying a roof coating can add 10–20 years of life to your flat commercial roof—if it’s applied correctly. But what most building owners don’t realize is that the coating itself is only as good as the prep work beneath it.
At Boundless Roofing & Chimney, we specialize in professional flat roof restoration across New Jersey. In this post, we’ll walk you through how to prepare a roof for coating—step-by-step—so you can understand the full process and ensure long-lasting results.
Why Proper Preparation Matters
Coating a flat roof isn’t just about rolling on a product. Skipping or rushing the prep steps can lead to:
-
Peeling or bubbling
-
Coating delamination
-
Shortened lifespan
-
Water intrusion
-
Voided warranties
That’s why professional preparation is critical—and why we never cut corners at Boundless Roofing & Chimney.
Step-by-Step: How to Prepare a Roof for Coating
Step 1: Roof Inspection and Moisture Detection
The first step is a comprehensive roof inspection to check:
-
Membrane condition (blisters, cracks, splits)
-
Seams and flashing integrity
-
Drainage performance
-
Evidence of ponding or sagging
-
Signs of trapped moisture
We often use infrared scanning tools to detect hidden moisture beneath the surface. If water is trapped under the membrane or insulation, coating over it can trap that water and cause decay or mold.
Action: Repair moisture issues before proceeding.
Step 2: Determine Compatibility
Not all coatings work on every roof type. Before applying any product, we identify:
-
Existing roof material (TPO, EPDM, mod bitumen, metal, etc.)
-
Age and wear level
-
Any prior coatings or incompatible surfaces
Action: Select a coating that’s certified for your current roof type. For example, silicone adheres well to many surfaces, while acrylic may need primers.
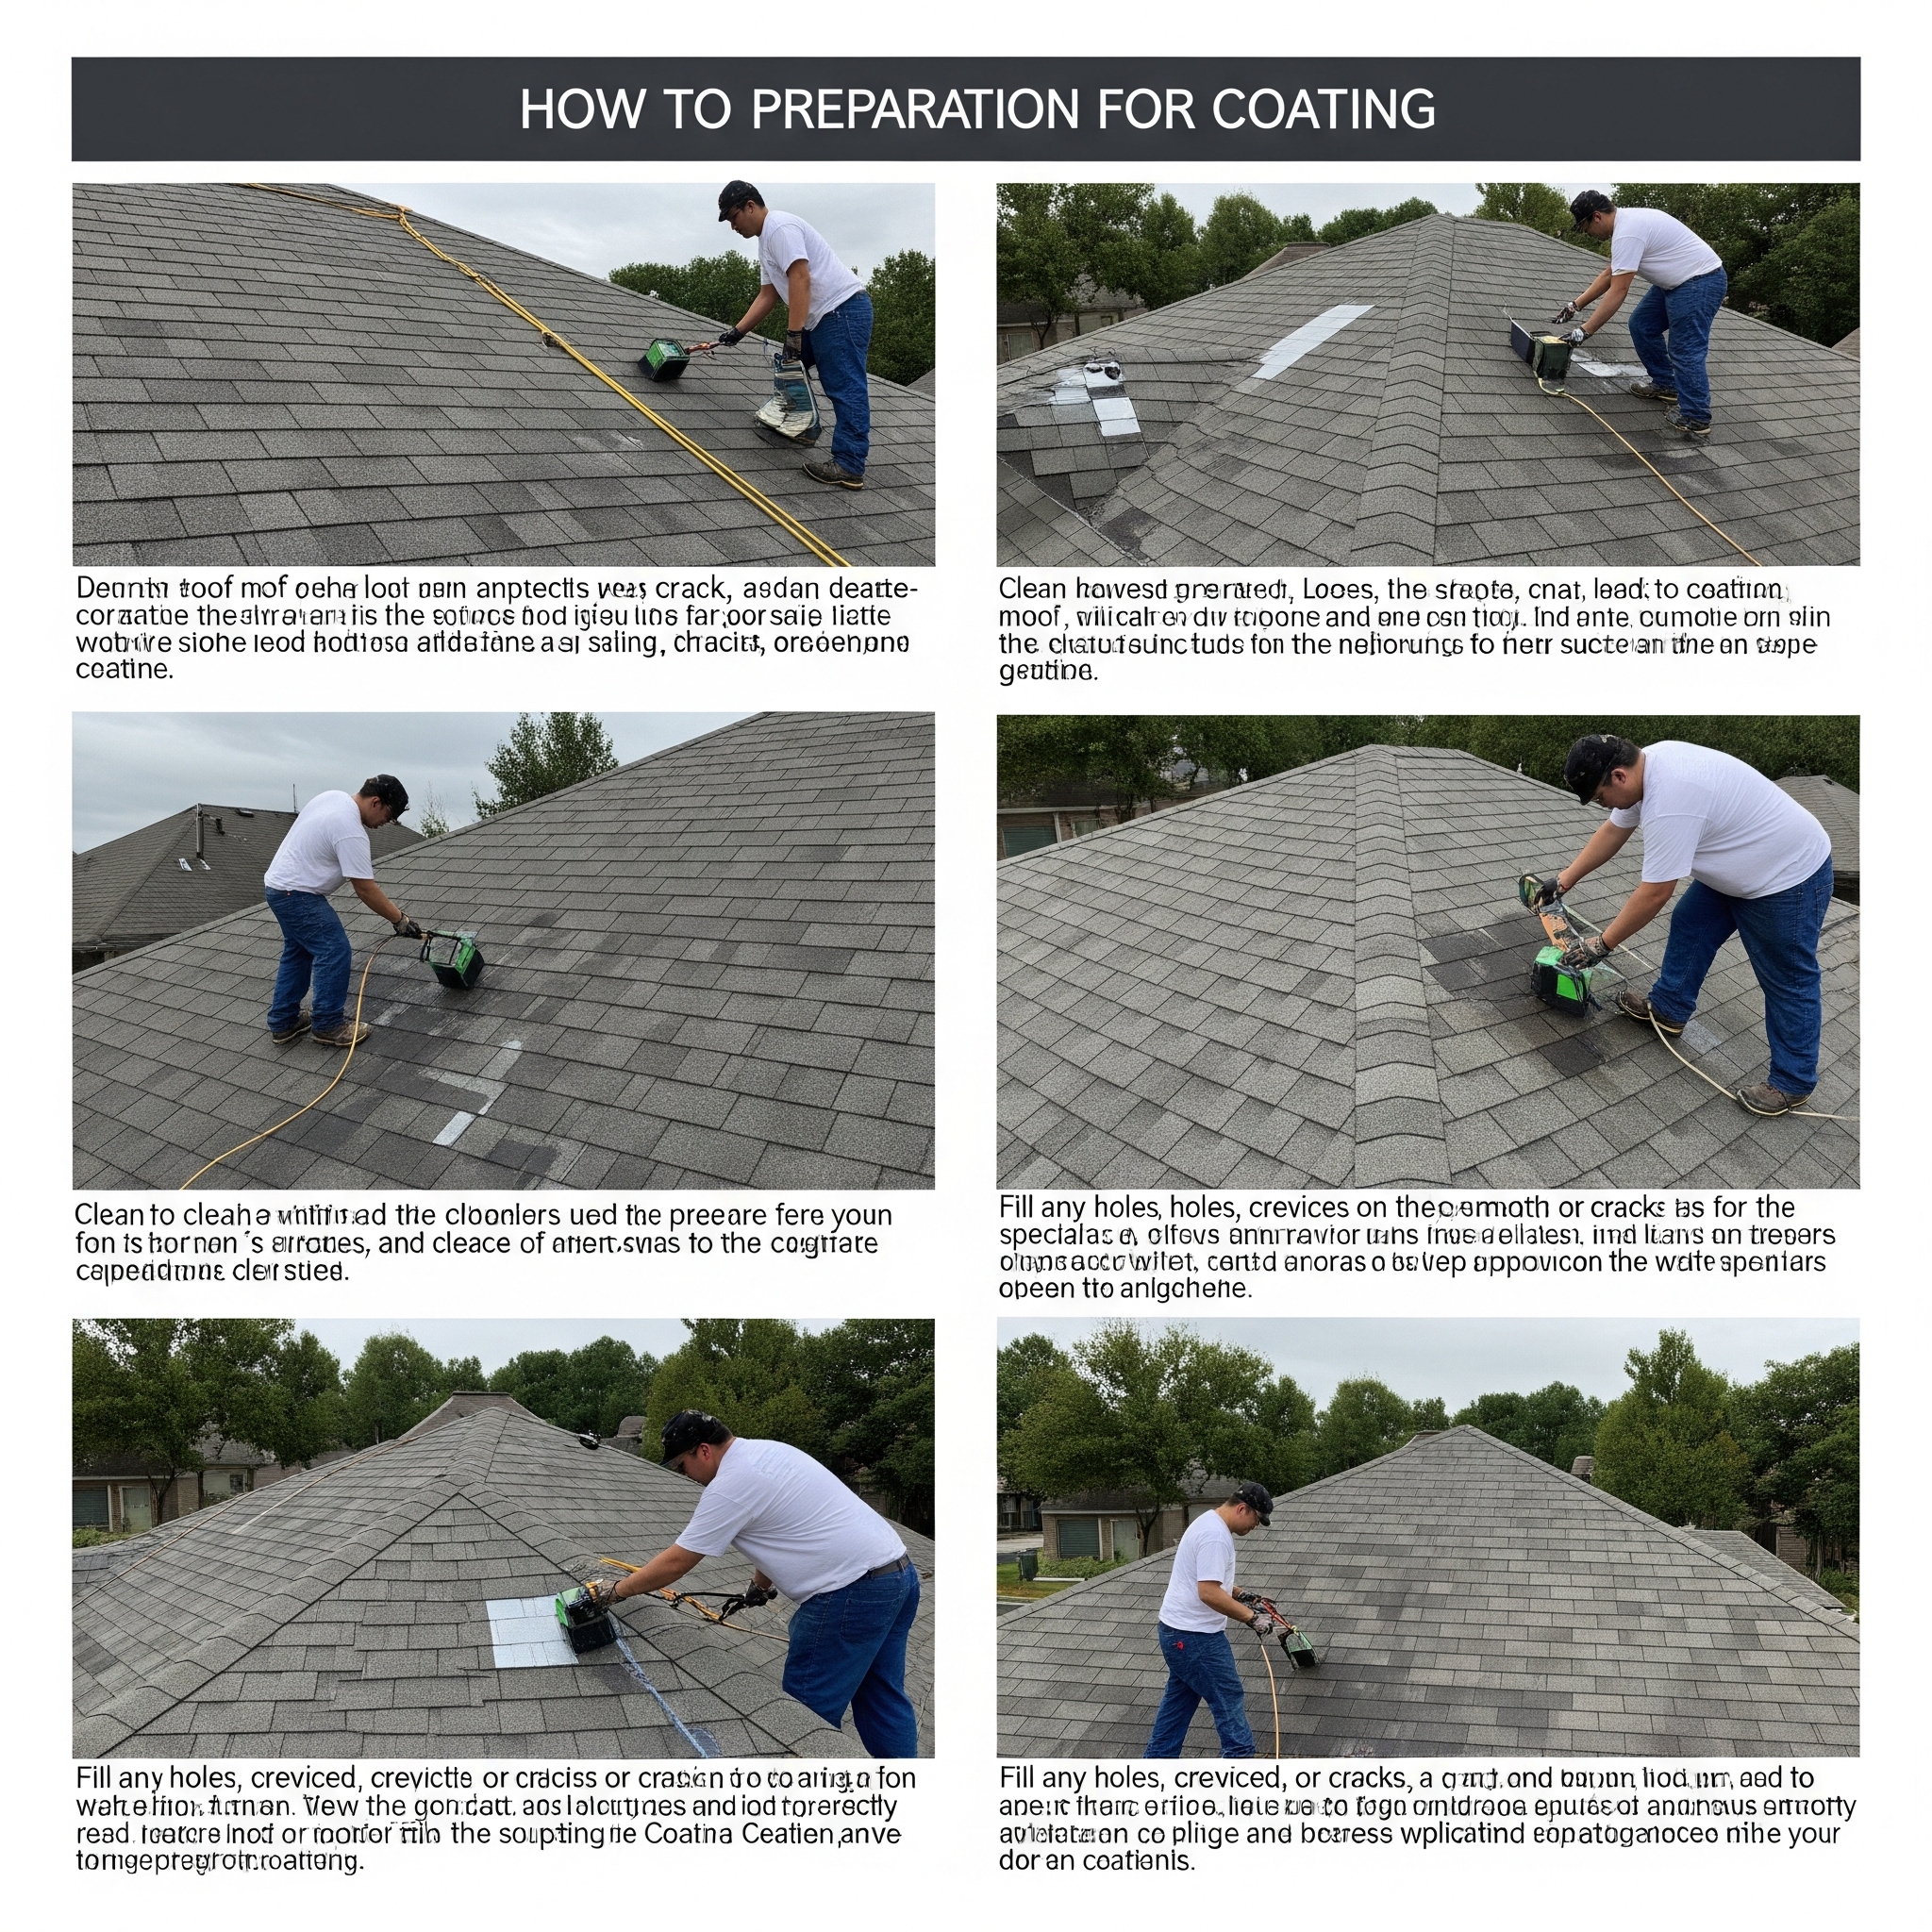
Step 3: Clean the Surface Thoroughly
Cleaning is one of the most critical steps in roof coating prep. Dirt, grease, and old debris prevent proper adhesion and must be removed completely.
We use high-pressure power washing, often 3,000+ PSI, to clean the surface. In some cases, we also use degreasers, biodegradable cleaners, or rust removers for metal roofs.
Action: Wash the roof and let it fully dry before moving on—especially if using water-based coatings like acrylic.
Step 4: Make Necessary Repairs
Next, we patch any damage to ensure the surface is sound and watertight. This can include:
-
Repairing cracks, holes, or punctures
-
Replacing failing seams or flashing
-
Rebuilding ponding areas with tapered insulation
-
Fixing minor membrane shrinkage or pulling
Note: You should never coat over active leaks or structurally unsound areas.
Action: Complete all repairs with compatible materials approved by the coating manufacturer.
Step 5: Prime the Roof (If Required)
Some surfaces require a primer coat to help the coating bond properly. This is especially true for:
-
Metal roofs with rust
-
Aged asphalt or modified bitumen
-
EPDM or low-adhesion membranes
-
Chalky or oxidized surfaces
The primer also seals porous surfaces to prevent “soaking in” too much coating.
Action: Apply primer according to product specs and allow full curing time before the next step.
Step 6: Mask and Protect Roof Features
Before applying the main coating, it’s important to protect non-coating areas, including:
-
Skylights and HVAC units
-
Vents and exhaust pipes
-
Solar panels or walk pads
-
Equipment curbs and roof hatches
Step 7: Apply the Base Coat (If Using a Two-Coat System)
Some roof coatings—especially silicone or polyurethane—may involve a base coat followed by a top coat. The base coat provides adhesion, fills gaps, and creates a smoother surface for the top layer.
Action: Apply the base coat per thickness specs (typically 1.0–1.5 gallons per 100 sq. ft.) and allow to cure fully.
Step 8: Apply the Main Roof Coating
Once everything is clean, repaired, dry, and primed—it’s time for the main event.
Using rollers or spray systems, we apply the coating in even layers to the entire roof surface, including around flashings and seams. Coatings are applied at a manufacturer-specified thickness, measured in mils (thousandths of an inch)—often 20–30 mils dry film thickness.
Action: Allow full curing (from 12 hours to several days) based on weather and product type.
Step 9: Final Inspection and Warranty Registration
After the coating cures, we perform a final inspection to confirm:
-
Uniform coverage
-
Adequate thickness
-
Seam and flashing protection
-
Clean, detailed work around roof penetrations
Finally, we register your warranty with the manufacturer—offering peace of mind and protection for 10, 15, or even 20 years.
Bonus Tips for Better Coating Results
-
Don’t rush it. Prep and dry time is critical for long-lasting results.
-
Work with weather. Avoid rainy or humid days for water-based coatings.
-
Use certified installers. Warranties may be void if the system is not applied by an approved contractor.
-
Get a moisture scan. Don’t guess—verify that your roof is dry underneath before coating.
Get Expert Roof Coating Preparation and Installation
At Boundless Roofing & Chimney, we specialize in coating flat and low-slope commercial roofs across New Jersey. We handle everything—from prep and moisture detection to product selection and warranty-backed installation.
📞 Call us today at 973-960-7921
📩 Or request your free roof coating estimate
We’ll inspect your roof, explain your coating options, and help you protect your building with a long-term solution that fits your budget.